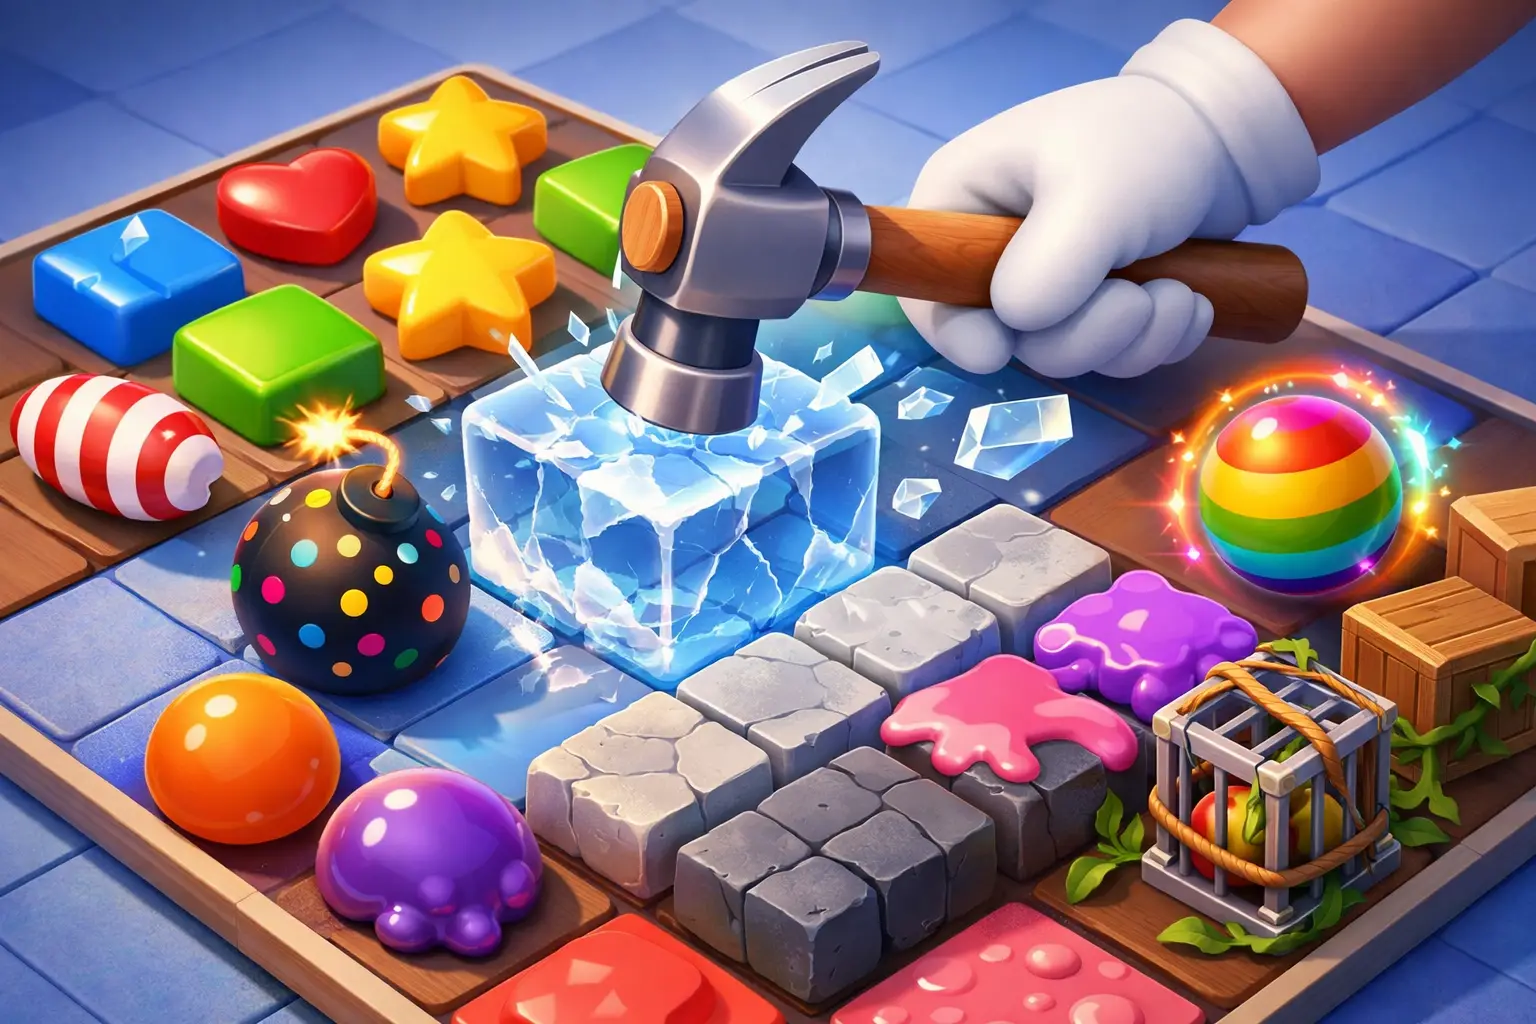
A level can look one move away from finished, yet a single crate, vine, or blocked corner keeps the board from opening up. Learning how to clear puzzle obstacles is less about making the biggest match on screen and more about noticing which square is holding back the rest of the puzzle.
In a well-designed match-3 level, obstacles are not just decoration. They shape where pieces can fall, limit useful swaps, and ask you to plan two or three turns ahead. The good news is that most stubborn boards become much simpler once you give every move a job.
How to Clear Puzzle Obstacles Without Wasting Moves
Start by reading the goal before making your first swap. Is the level asking you to clear tiles, collect an item, spread color across a board, or break through layers of blockers? Your target should decide where you play.
A match in the center may create a satisfying cascade, but it is not always the right match. If the obstacle you need is sitting in the lower-left corner, moves near that corner are usually worth more. Clearing space around a blocker lets new pieces fall into the area, which creates fresh chances to make matches where they matter.
Think of the board in three zones: the target zone, the support zone, and the distraction zone. The target zone contains obstacles or collection points that directly advance the level. The support zone is the nearby area where matches can create power-ups or open a path. The distraction zone is everything else - useful only if it sets up a better move.
This small habit keeps you from spending five moves on attractive matches that do not change the board in a meaningful way.
Identify What Makes the Obstacle Difficult
Not all obstacles respond to the same approach. Some need repeated hits. Some restrict movement. Others take up space until you clear the pieces around them. Before you start chasing a power-up, notice how the obstacle behaves.
Layered blockers need steady pressure
Crates, stones, frost, or other multi-hit blockers often ask for more than one adjacent match. The mistake is hitting them once, then moving to another area of the board. That first hit matters most when it opens a pocket where you can keep working.
Try to make your next few moves close enough to continue the job. A single focused section of the board can open quickly, while scattered damage leaves several areas almost clear but none actually useful. If a blocker has two layers left, ask whether one power-up could finish it rather than adding another ordinary match.
Corners need deliberate setup
Corners are difficult because pieces cannot approach them from every direction. You have fewer possible matches nearby, and a random cascade is less likely to reach them. When a target sits in a corner, build matches beside it early rather than hoping the board will solve it later.
Horizontal power-ups are especially helpful when the obstacle lies along the edge. Vertical power-ups can clear a narrow column leading into a corner. If you have a choice, save a useful power-up until it can touch the troublesome square or create room directly beside it.
Board locks change the value of every move
Chains, ropes, vines, or similar locks do more than block a tile. They limit the board’s ability to rearrange itself. Until you clear them, pieces may not fall into the places you need.
Treat these blockers as an opening task. You do not need to clear every lock immediately, but removing the ones that connect separate parts of the board can change the whole level. One opened lane can create the cascades that make the remaining work far easier.
Spreading obstacles require containment
Some obstacles expand or reclaim spaces after a turn if you leave them unattended. Here, the trade-off is important: a large power-up elsewhere may be tempting, but allowing the obstacle to spread can cost more than the power-up gains.
Work from the edge of the spread toward its center, especially when you can keep it from reaching a narrow passage or an important collection area. You are not trying to clear every affected tile at once. You are protecting the board’s workable space so you continue to have choices.
Build Power-Ups Where They Can Work
Power-ups are strongest when their position solves a real board problem. Creating one in an open area is helpful. Creating one beside a layered blocker, a locked lane, or a crowded goal area is often level-changing.
Look for chances to make a four-piece or five-piece match near the obstacle, not simply anywhere available. Then pause before activating it. A power-up may be more valuable one turn later if it can combine with another special piece or reach a section that is still sealed off.
Combining power-ups can clear a large section of the board, but it is not automatically the best choice. If the level has one isolated target in a corner, a carefully placed directional power-up may outperform a big board-wide effect. Use the combination when the board is dense, several targets need clearing, or you need a reset after the useful moves have dried up.
In Garden Match Puzzles, the most rewarding clears often come from setting up that one purposeful combination instead of activating every special piece as soon as it appears. A little patience can turn a crowded bed of obstacles into open ground.
Protect Your Moves in the Endgame
The last third of a level is where many close attempts slip away. By then, most of the board is open, but the remaining targets are often the hardest ones: one covered tile at the edge, two items trapped under blockers, or a small patch that needs repeated matches.
Stop playing for general progress and play only for the remaining goal. If one blocker is left, every move should either hit it, create a power-up that can hit it, or improve the pieces around it. A cascade in the wrong place may feel productive, but it can also use a turn without improving your position.
It also helps to count what remains. If three tiles need one hit each and you have six moves, you have room to set up a strong clear. If a blocker needs multiple hits and you only have a few moves, favor direct matches and ready power-ups over long setups. Good strategy is not always about the most impressive move. Sometimes it is the reliable one.
Use Boosters as a Plan, Not a Rescue Button
Boosters are most satisfying when they support a clear idea. Before using one, name the problem it solves: perhaps a corner needs one more hit, a locked column is preventing pieces from falling, or a nearly finished board needs one well-placed power-up.
A pre-level booster can be useful on a board that demands early space, while an in-level tool is often better when one specific obstacle remains. It depends on the level. If you do not yet understand why the board is difficult, try a fresh attempt first. That first look often reveals the true bottleneck and helps you choose wisely next time.
There is no need to force a perfect attempt. You can always play, regroup, and return with a clearer plan. That freedom makes experimentation part of the fun rather than a penalty for getting curious.
Give the Board One Turn to Surprise You
Before making an obvious swap, take a brief look for a better one. Check the bottom rows, the squares beside your goals, and any possible power-up match. Then make the move with the most useful outcome, not merely the brightest effect.
After a strong cascade, pause again. The board has changed, and the plan should change with it. A new opening may make yesterday’s difficult corner easy, or a falling piece may place a power-up exactly where it belongs.
The calmest way through a stubborn level is to keep the next move small and specific: clear that lock, open that lane, reach that corner. A few purposeful swaps can leave the board wide open - and make the next bloom in your garden feel earned.